Thanks for the feedback, everyone. I appreciate it immensely!
Sheijtan wrote:
Where did you get the pillars and spikes from? Really like the size of the pillares.
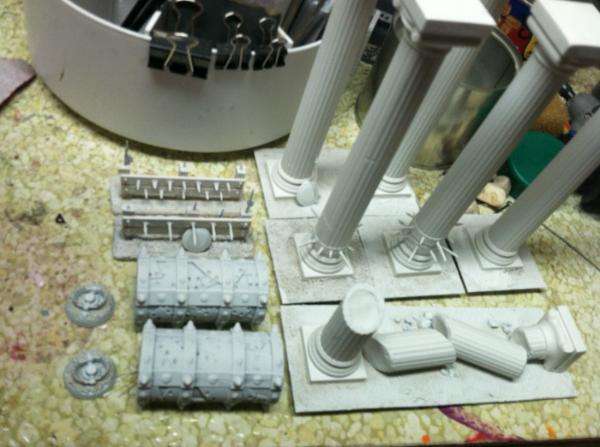
The pillars are Wilton 7" Grecian pillars - made for cake decorations. They are a nice dense hard plastic which makes them good for durability but hard to cut. When I went to make the toppled pillar, for example, my trusty X-acto wouldn't even dent it - I had to break out the Dremel to cut it. They are also hollow so all the separate pieces had to have their ends filled with spackle or other drywall paste. They are quite a bit narrower and don't look quite as nice as the AR resin pillars, but they were a lot cheaper.
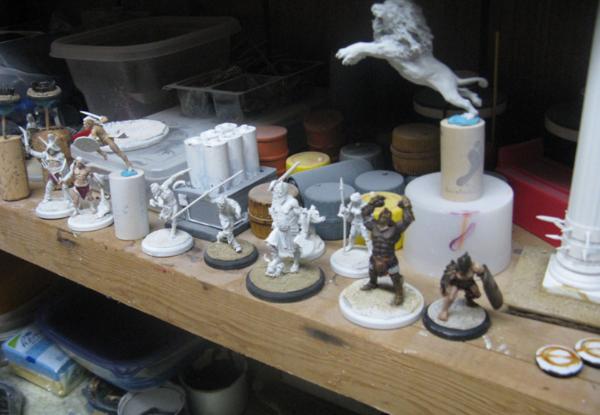
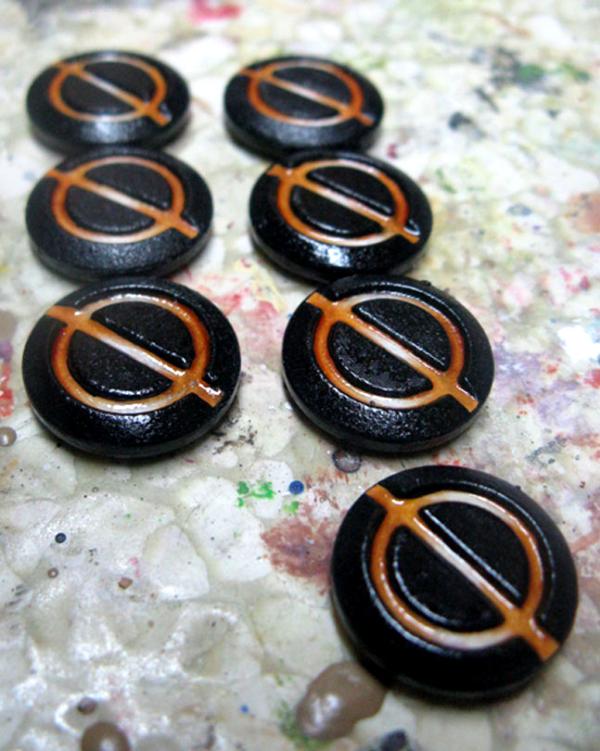
All the other bits (traps, spikes, shields, etc.) are either normal hobby supplies (balsa wood, plasticard, cardstock) or ordered from the Hoard-o-Bits ebay store.
-Traps = Games Workshop (Ogre accessories)
-Metal rollers = Privateer Press (accessories for their "Grind" game)
-Spikes = Wargames Factory (spears from various sets)
-Shields = Wargames Factory (Dwarven shields, I think)
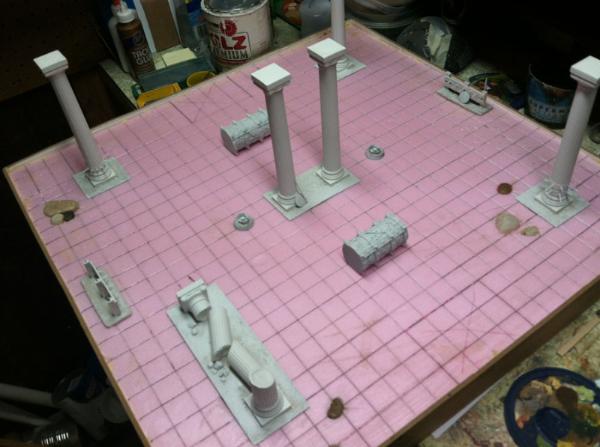
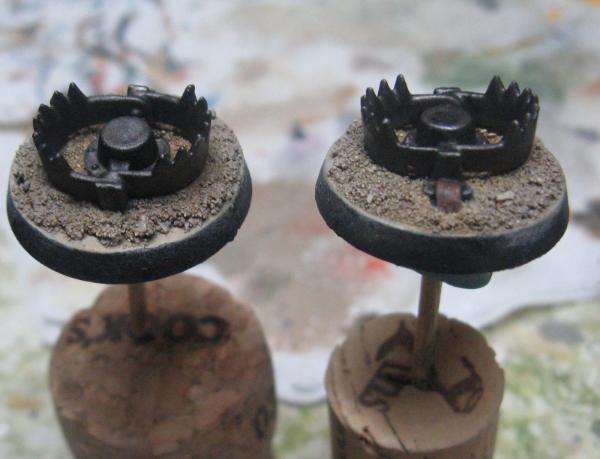
Beyond that, it was just a matter of cutting, snipping, and gluing everything into the arrangement I needed. For example, the spiked pillars are super simple: just a narrow band of 90# cardstock cut to fit around the column, a few dots of super glue to hold it in place, then coated in a white glue/water mix so it hardens completely (and won't "fuzz up" when sprayed with primer). When that set, various spearheads were glued on at even intervals.
The hardest part was organizing everything in my head, TBH. If you have had any practice building terrain or cutting/converting plastic minis in the past, you can do something similar (or better).
hiredgoonthug wrote:
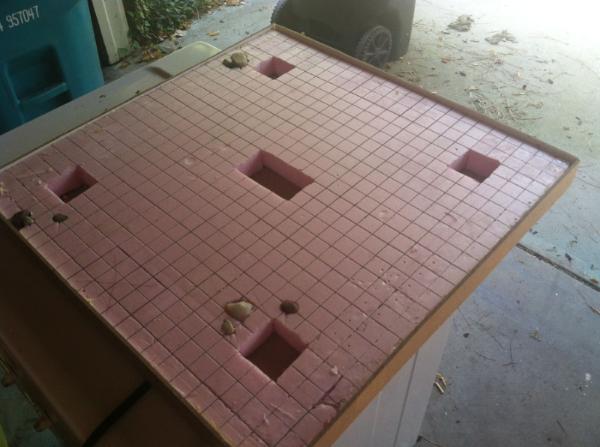
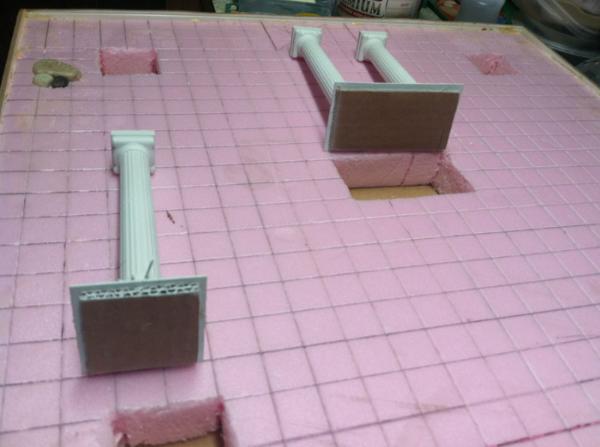
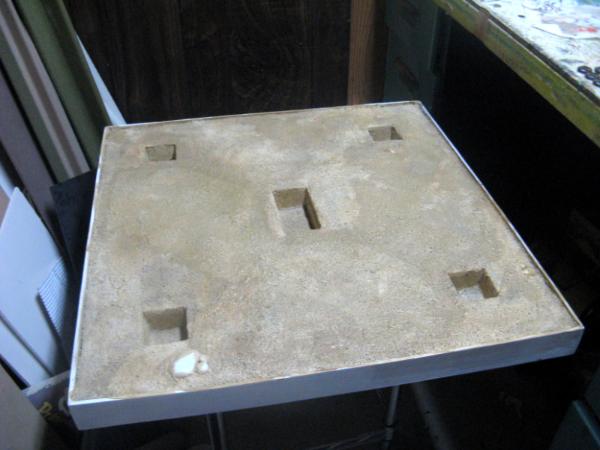
When you paint and texture the foam you may not be able to fit the cardboard under the pillars into the trap holes. Trimming it with a hobby knife later may be the remedy if it's an issue.
Thanks for the tip - I'm already thinking about what to do if that's the case, and this is one of the possibilities.
Hopefully I have another update ready for this weekend...
 Register